Corporate Signature In Microsoft Outlook Windows
Follow the instructions below to set up your Corporate Signature on your Microsoft Outlook for Windows:
- Close your Microsoft Outlook email program.
- Open your internet browser.
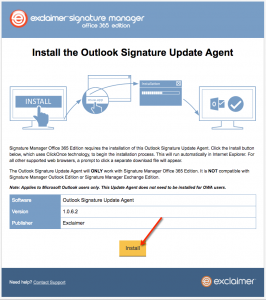
- Go to the Exclaimer Outlook Signature Update Agent by clicking HERE. You will see one or both of the windows below will appear. Click “Install” and wait for the application to download and install.
-
Click install (if the browser prompts you, download the file to your computer and double click to run the installation). Then click install and wait for the installation to complete.

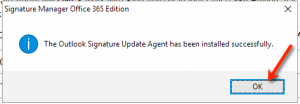
- Press OK when the installation finishes.
- Wait at least 5 minutes for your auto-email signature to load into your Outlook account.
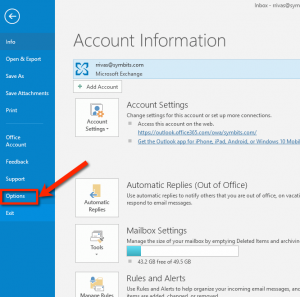
- To set up your auto-email signature as your default Microsoft Outlook Email Signature, click on the “File” menu in the upper left corner of your Microsoft Outlook email box then click on “Options” when the menu appears on the left side of your screen.
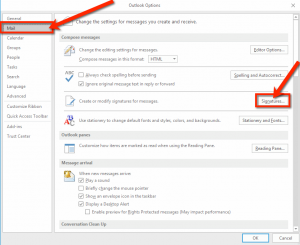
- Click on the “Mail” option when the “Outlook Options” window comes up, then click “Signatures”
- You will see your signature option show up here. It will say “TRO Signature” (or whichever division you work in + “Signature”). Click on that signature option then click “OK”. Your new auto-email signature should begin appearing in the body of your emails each time you create one.
